In this time of uncertainty and worry, super handwashing and social distancing have become a huge priority. Face masks have now become the newest safety precaution, and have been added to many people’s daily attire. The urgency for masks for medical professionals, care providers, essential workers, and citizens just shopping for essentials is dire.
Local residents from the area have committed to making these masks to support those in need. Tracey McNamara, a Spartan mom, is one of those people, and has outlined the steps for anyone who wants to make a mask!
Supplies:
-1/4 yard tightly woven cotton fabric
-14” flat elastic, 1/8 inch
-6” pipe cleaner (sharp ends folded in 1/8”)
-sewing machine and thread
-straight pins
-ruler and scissors (or rotary cutter and mat)
1) Cut:
-one rectangle of fabric 6x9” for the front
-two rectangles of fabric 4.5x9” for the back
-two 7” pieces of elastic

2) Sew 1/4” seam on one long side of the two pieces of back fabric, with the wrong side facing up.

3) Lay down front fabric, right side up, and place the two pieces of back fabric on top, wrong side up, with seamed edges overlapping in the middle and unsewn edges lined up with edges of the bottom fabric.
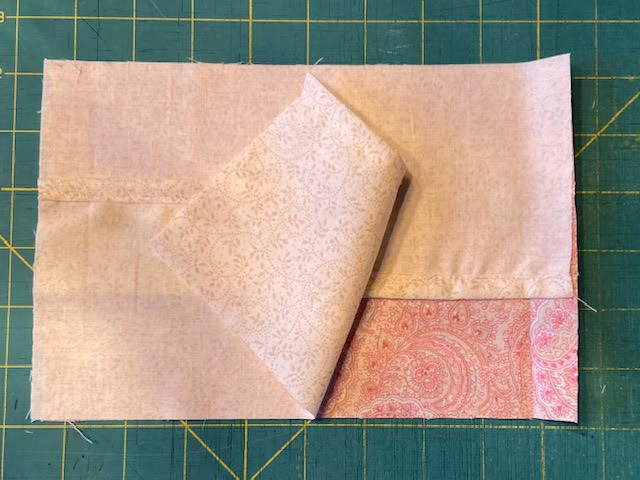
4) Fold back the corner on top of one short side, and place one piece of elastic on an angle, beginning at the corner, then lay fabric back on top. Pin to hold in place. Repeat on bottom corner, reaching between fabric layers to pull elastic over to the corner, and making sure it lays flat. Pin in place. Repeat on the other short side.


5) Sew a 1/4” seam around all the edges, removing pins just before reaching those spots, and making sure elastic stays in place as you sew through it.


6) Turn the mask inside out, pulling gently at elastic to bring out corners.

7) Place the pipe cleaner inside the pocket and tuck up into the top edge, centering it about 1.5” from each side. Sew around it to hold in place, coming in about 1/4” from the edge, down the side, and back out to the edge, back stitching at the beginning and end.
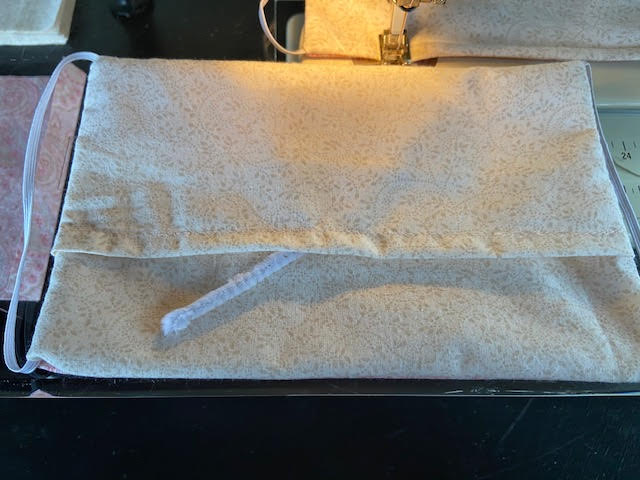

8) Turn the mask front side up. With the nose piece at the top, fold and pin two pleats on each side, with pleats facing down. (Try to make the pleats the same on each side.) Sew a 1/4” seam down each side, backstitching at beginning and end, and also over each pleat edge to hold them securely.

Your mask is done! A piece of filter material (like a coffee filter or other non-woven material) can be placed inside the pocket on the back for extra protection. Masks can be hand washed with hot soapy water and smoothed flat to dry. If you need to iron it, just avoid the elastic because it melts!
If you have the means and the time, try out this tutorial. Attempting to make your own mask may seem daunting, but you’d be surprised what skills you possess if you put your mind to it!
Tracey reminds Spartans to stay strong: “Stay safe out there! We can do this!”
Follow us-
Instagram: @shs_oracle
Twitter: @SHS_Oracle


No comments:
Post a Comment
Note: Only a member of this blog may post a comment.